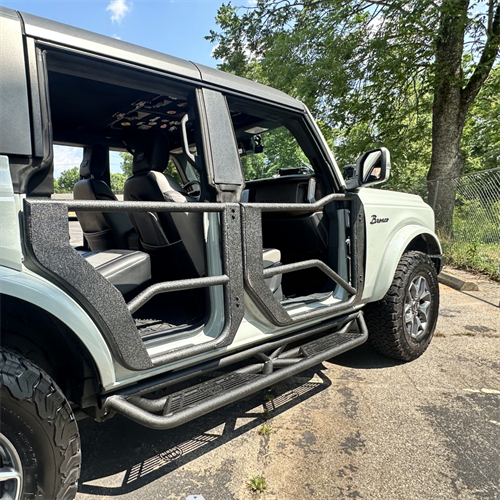
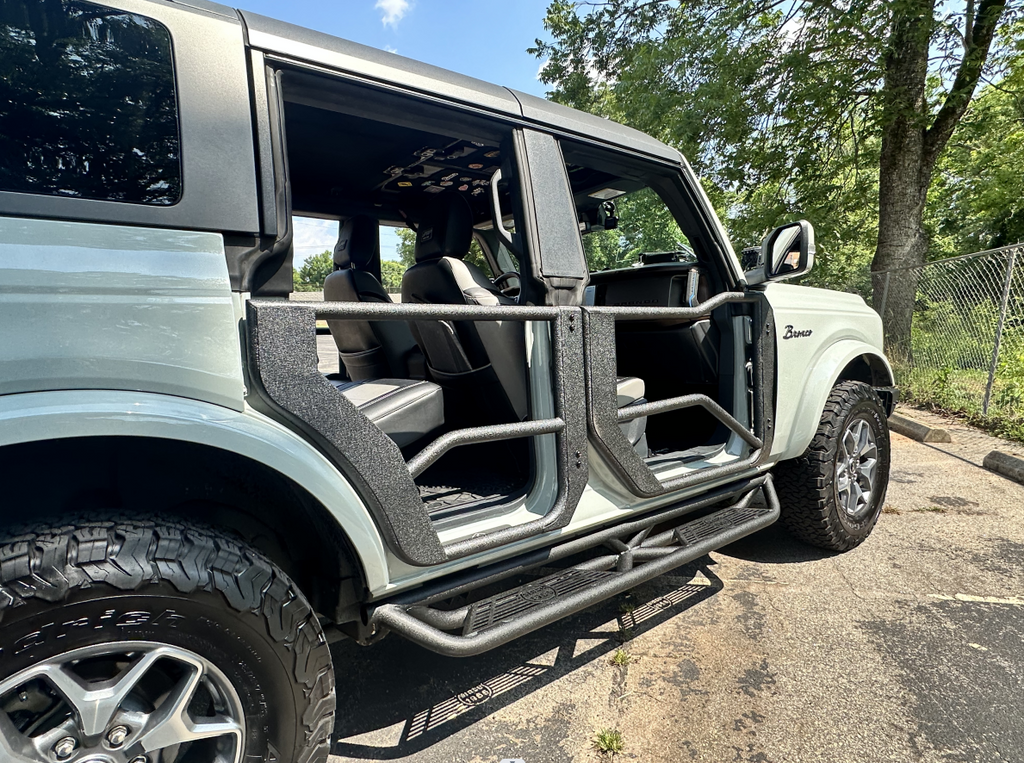
We’re so happy to hear that so many Ford Bronco owners are interested in these tube doors!
Spring is coming! The weather will be warmer and warmer. I think a lot of people are ready to go camping. If you want to enjoy fresh air and a good mood, replacing the factory door with a tubular half door is a good choice!
Learn how to remove the factory doors from a Ford Bronco and install aftermarket tube doors. By following the step-by-step instructions and using the necessary tools and hardware kits, you can easily customize your vehicle and enhance your off-road experience!
How To Remove The Factory Doors?
Necessary Tool Kit
- 2 Fender Protectors
- 13 mm Socket
- Ratchet
- Alignment Pin
Step 1:Push The Engine Start-Stop Button Once With Your Foot Off The Brake.
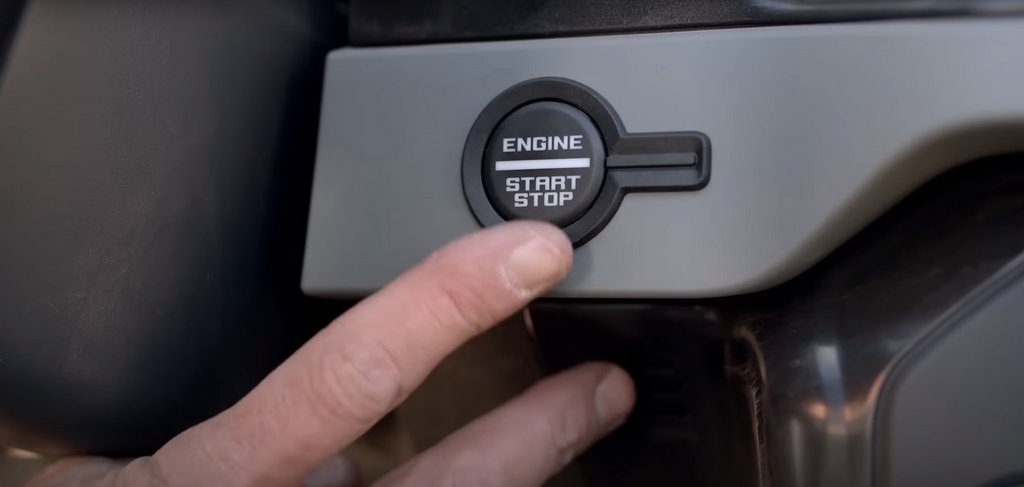
Step 2: Lower The Windows On The Doors You Want To Remove And Push Start-Stop Again.
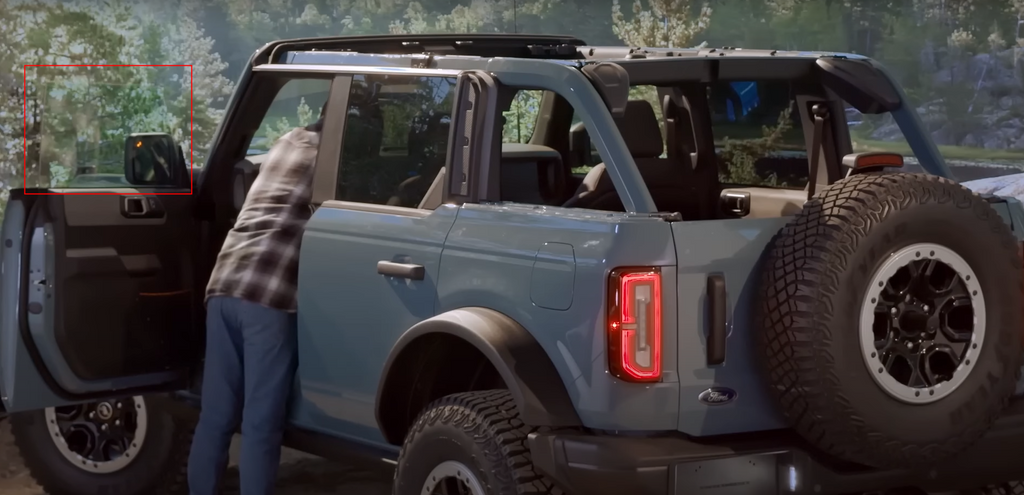
Step 3:Fold The Mirrors Completely Forward.
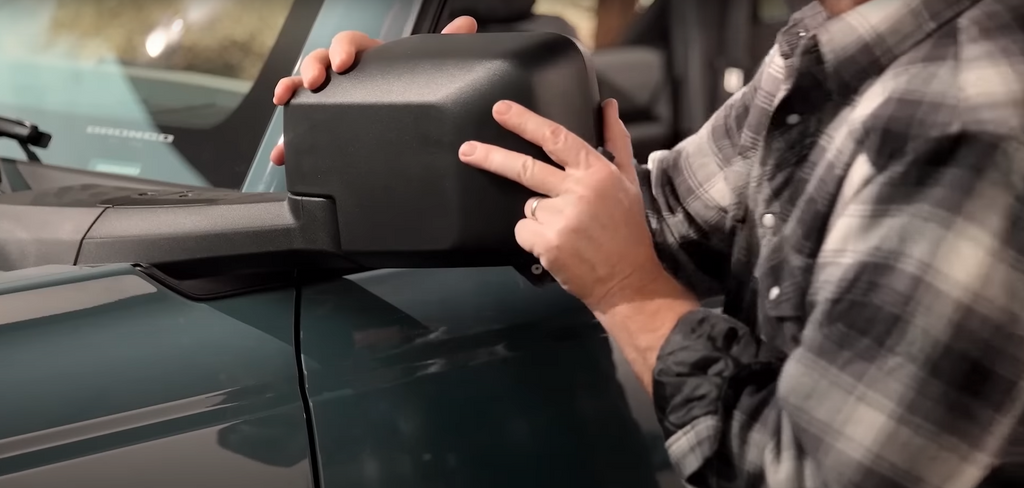
Step 4:Place One Fender Protector From Your Tool Kit On The Door And The Other On The Front Fender To Help Protect From Paint Chips.
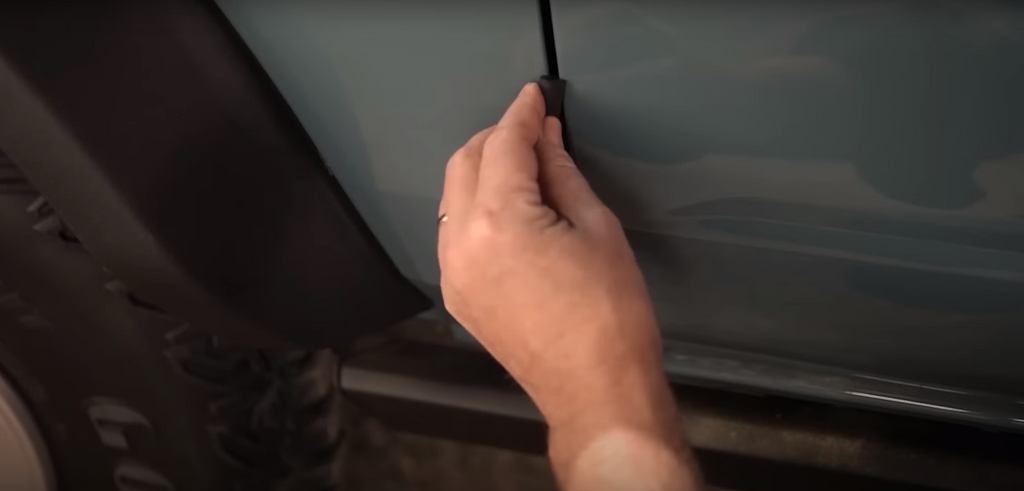
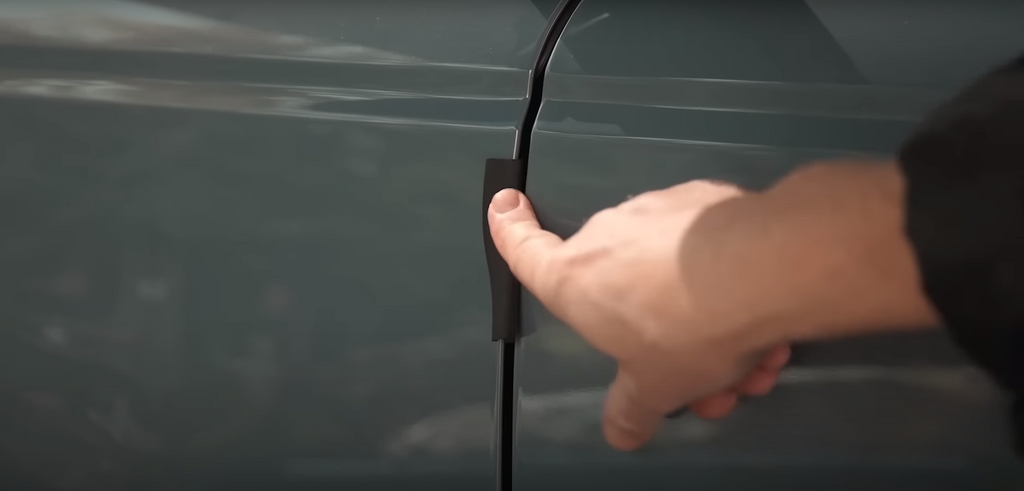
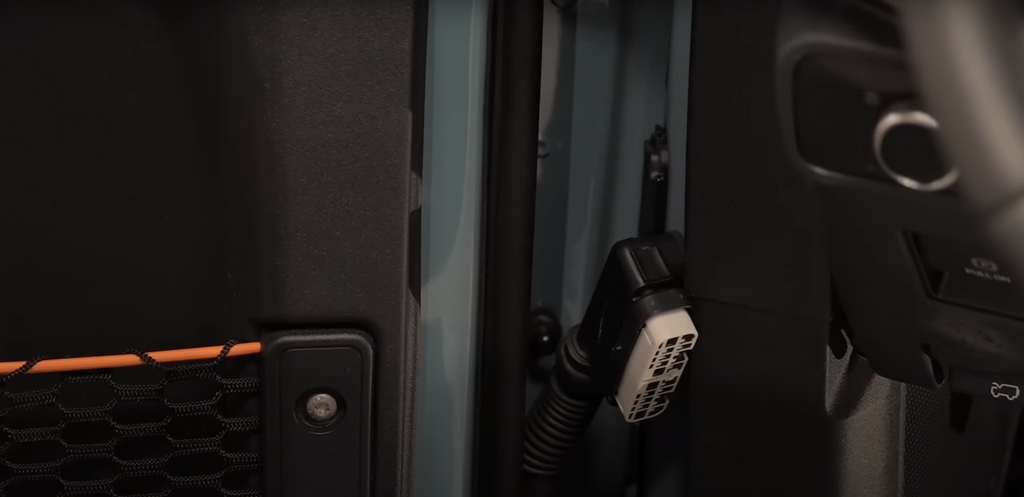
Step 5: Open The Door And Locate The Wire Connector. Hope The Connector Cover Open While Pulling The Wire Connector Straight Out.
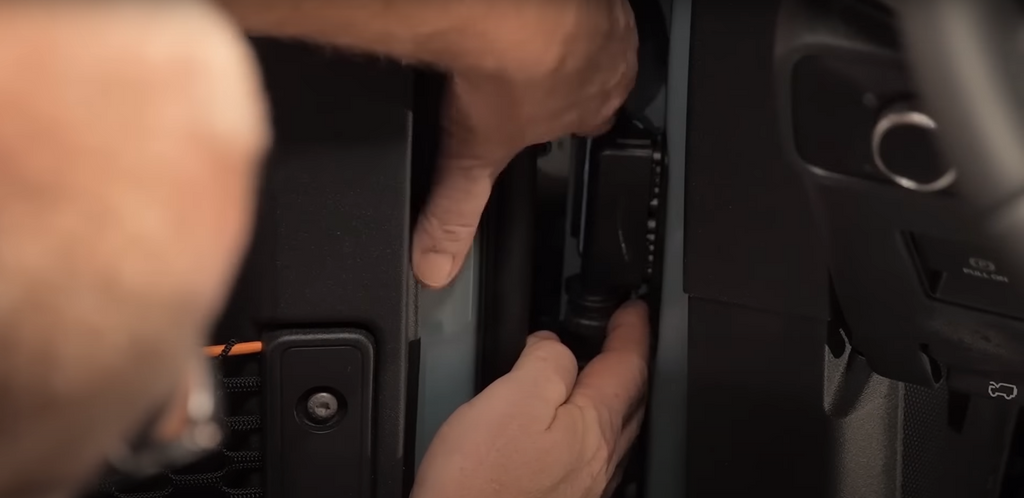
The Cover Is Spring-Loaded And Will Shut Automatically.
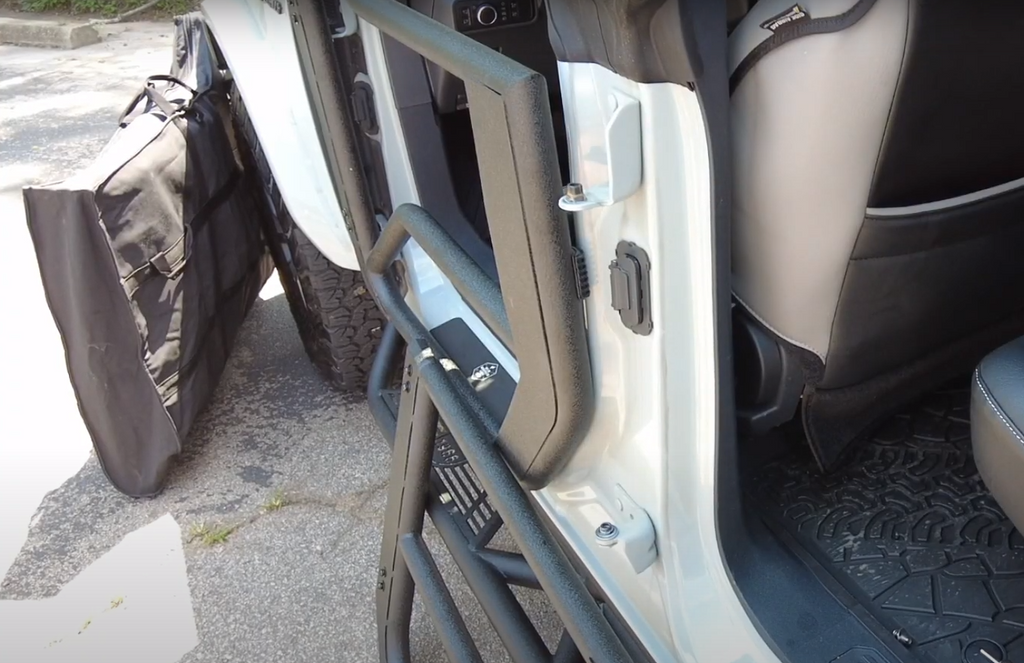
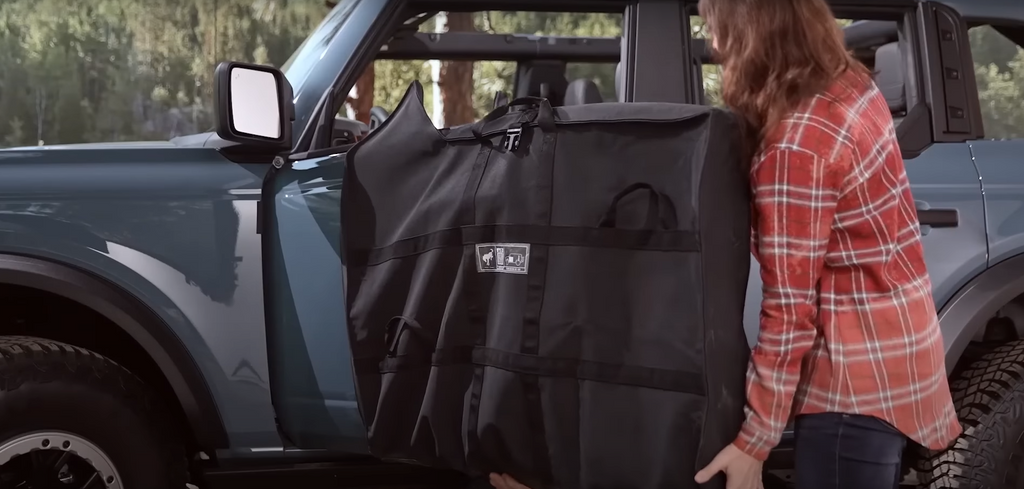
Step 6:Ensure That The Door Is Clean, Then Place The Available Door Storage Bag On.
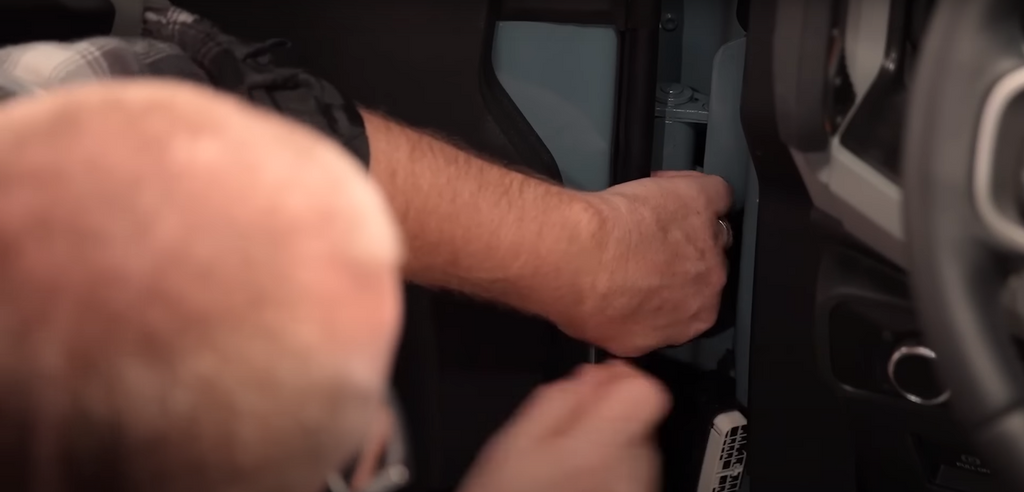
Step 7: Use The 13-Millimeter Socket Tool To Loosen And Remove The Lower And Upper Hinge Bolts.
Step 8: With The Other Person’s Help, Use The Handles On The Door Bag And Simply Lift The Door Vertically To Separate It From The Vehicle.
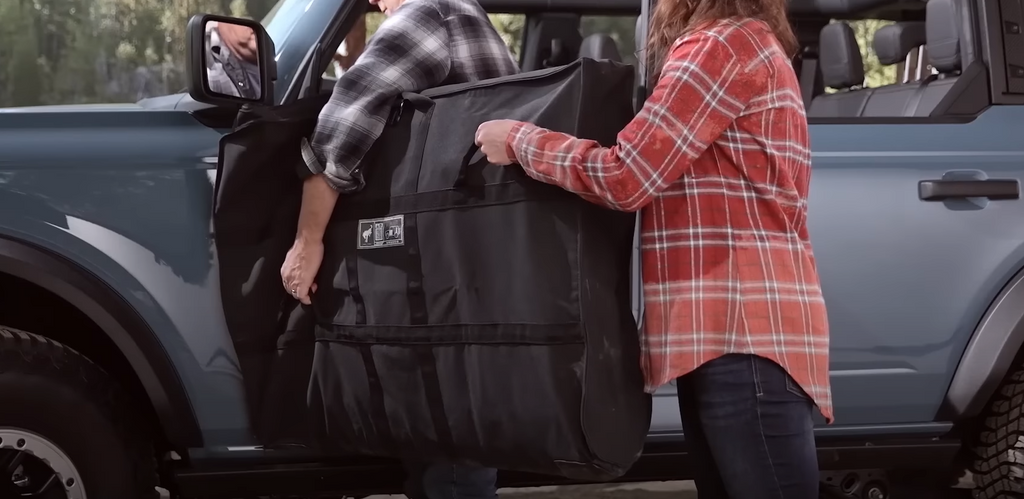
Then Repeat These Steps For Each Door.
After successfully removing the factory doors, remember to clean them thoroughly and store them in a safe and secure location. It is recommended to use the provided door storage bags to protect the doors from any potential damage.
How To Install The Aftermarket Tube Doors?
Necessary Hardware Kit
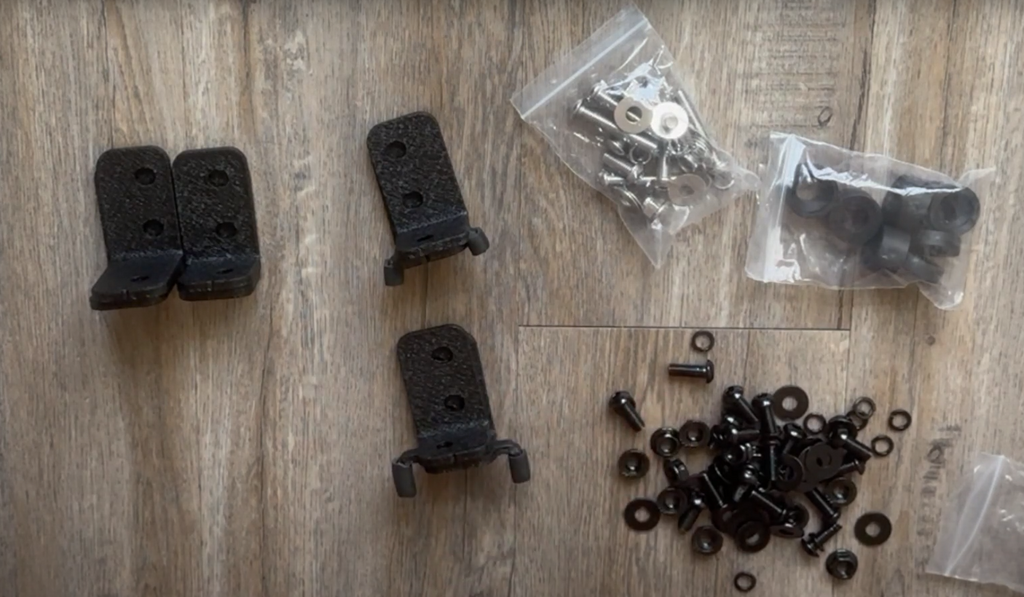
Step 1: Take The Large Spacer And Put It On The Top Bracket And Then The Smaller Spacer On The Bottom Bracket.
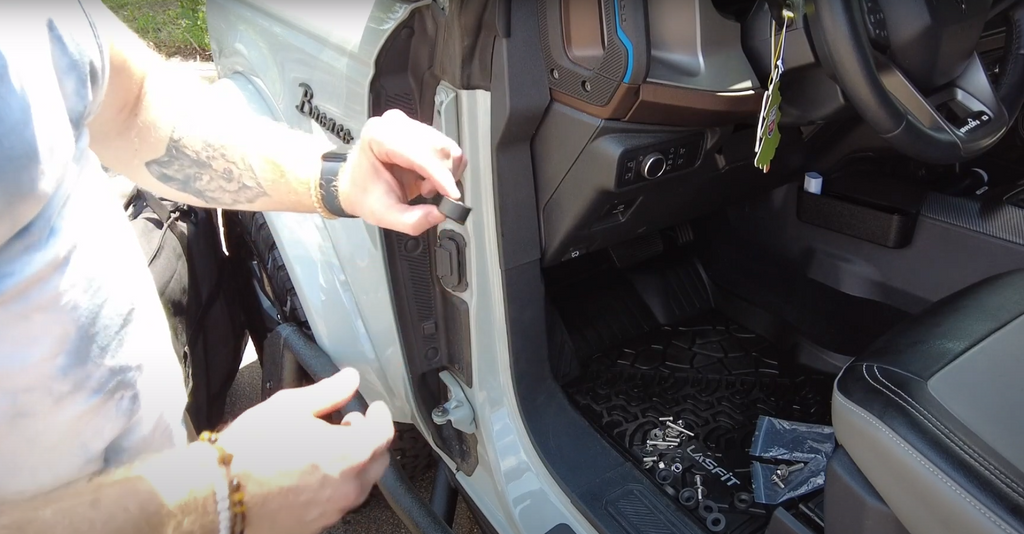
Step 2: Use The Large Bolts With The Lock Washer And Washer And For The Top One.
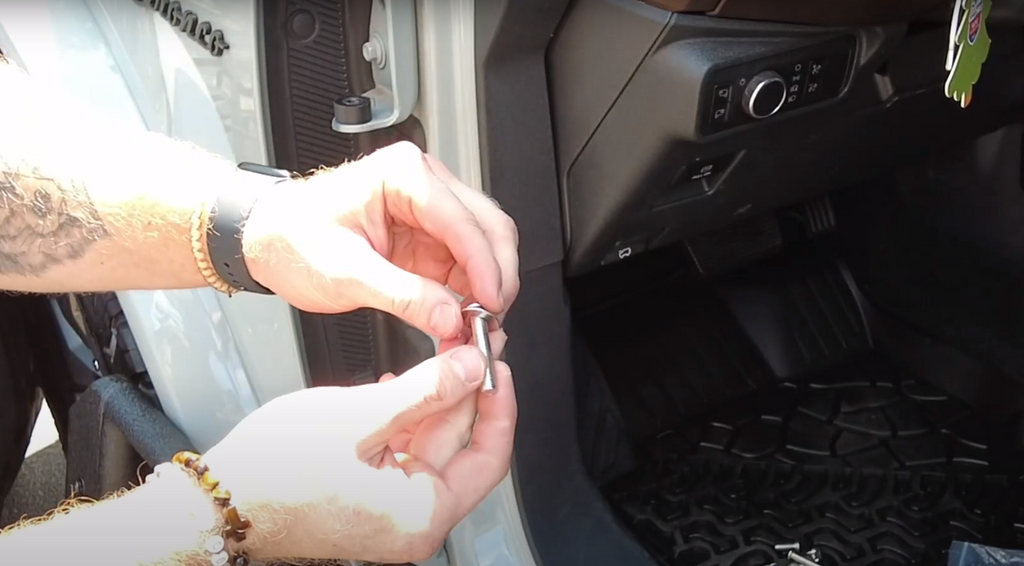
It’s Going To Go Down Like This And You Are Going To Lock It In Place With A Bolt.
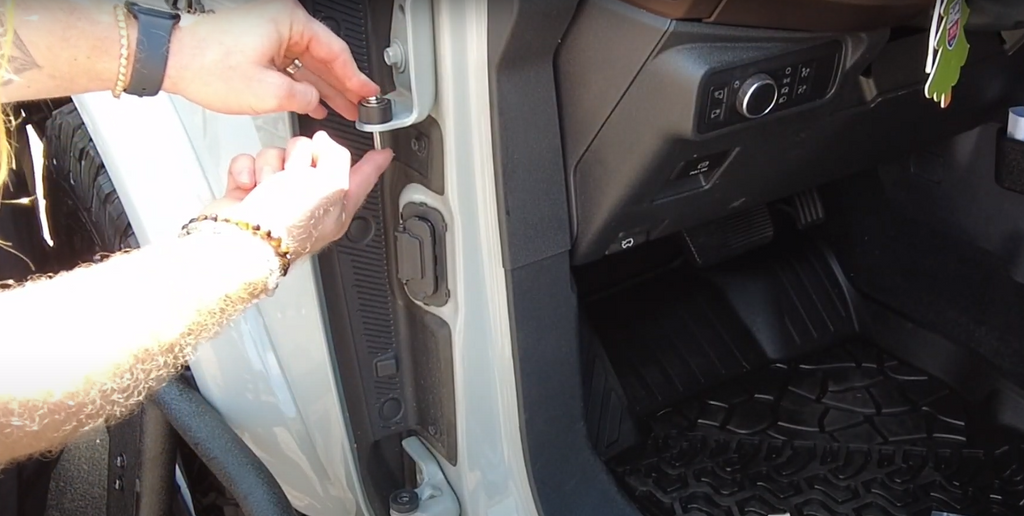
Step 3: Use The Smaller One Will Just Be A Downward One. It’s Going To Screw Right Into Place With The Existing Threads.
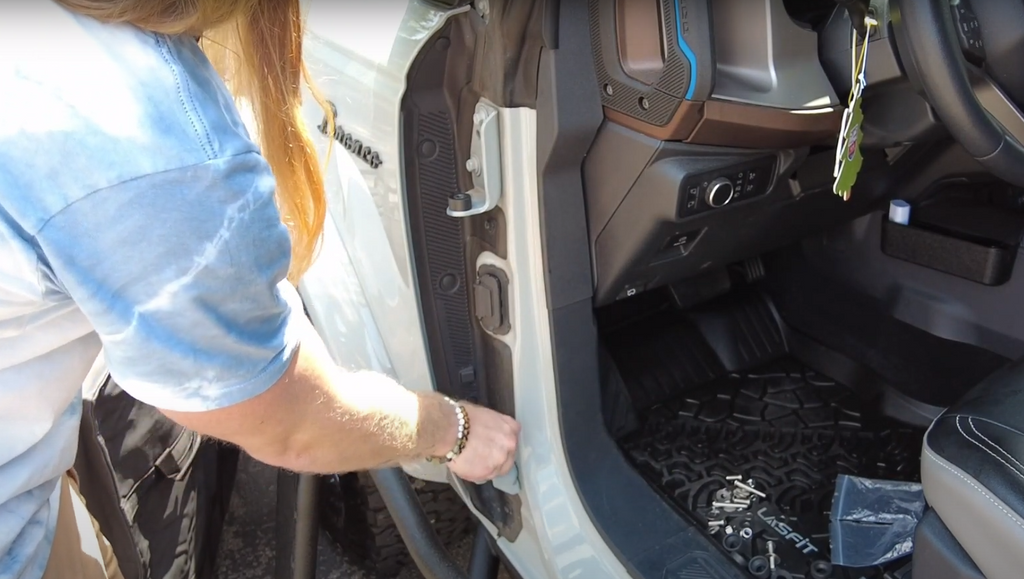
Step 4: Put This Into Place Once Again Everything Is Still Loose Nothing Is Fully Tightened Yet.
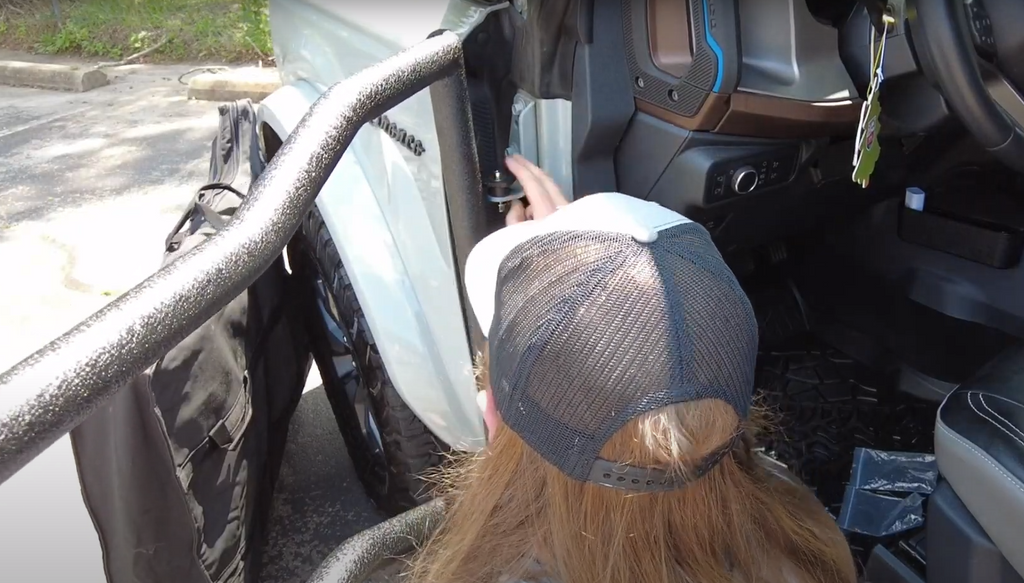
Step 5: Shut The Door Lock It In Place And Then Tighten All The Bolts Up Front.
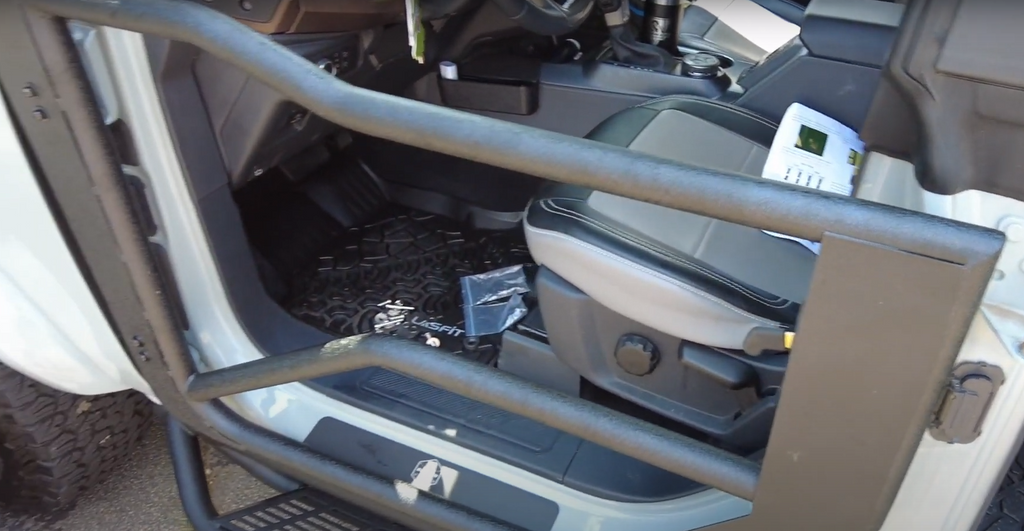
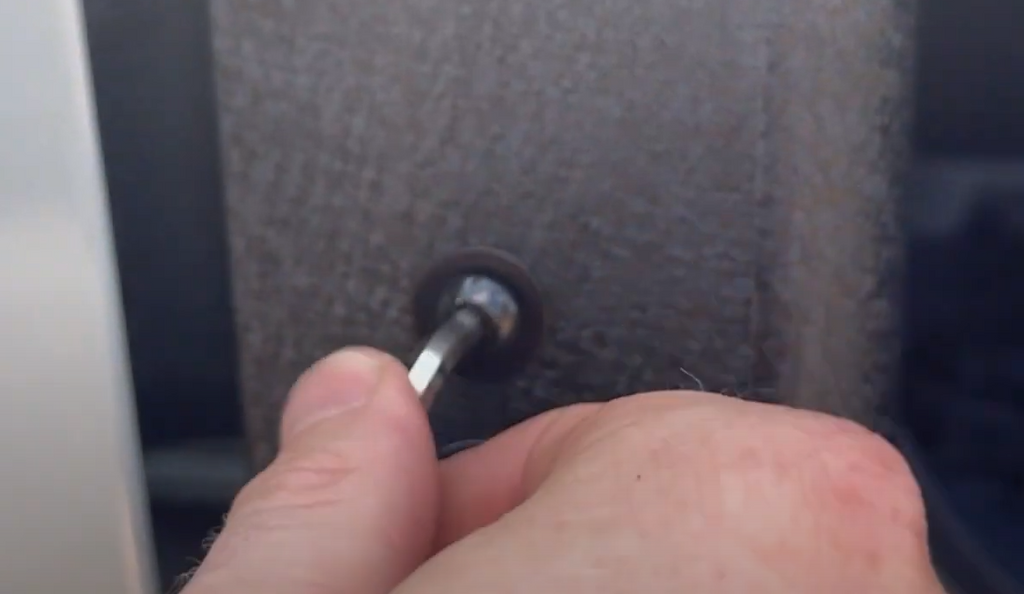
Ensure to repeat these steps for each door to complete the installation. After successfully installing the aftermarket tube doors, you can now enjoy your spring outdoor activities to the fullest.
Get ready to embrace the outdoors with your newly installed tube doors and embark on exciting adventures.

